Most web applications rely on email for user account actions like account confirm, forgot password reset link or just to send a notification the user.
When developing email features, you may wish to test that these emails get sent correctly and verify they look right. What you don’t want is to create actual dummy mailboxes for every test user and you don’t want to risk sending an email to a real person by accident.
For this purpose, mailtrap provides a free service that provides a fake mailbox for you to use. Once you’ve setup mailtrap in your Laravel application, any email that is sent by your code will be intercepted and sent to your mailtrap account instead.
In this tutorial, we’ll go though the process of creating a mailtrap account and configuring it in Laravel. Let’s get started!
Step 1: Install Laravel
Create a new Laravel project if you haven’t done so already by running:
composer create-project --prefer-dist laravel/laravel laravel-mailtrapStep 2: Create mailtrap Account
First, sign up for a mailtrap account at mailtrap.io if you haven’t already. Once registered, create a new inbox in mailtrap.
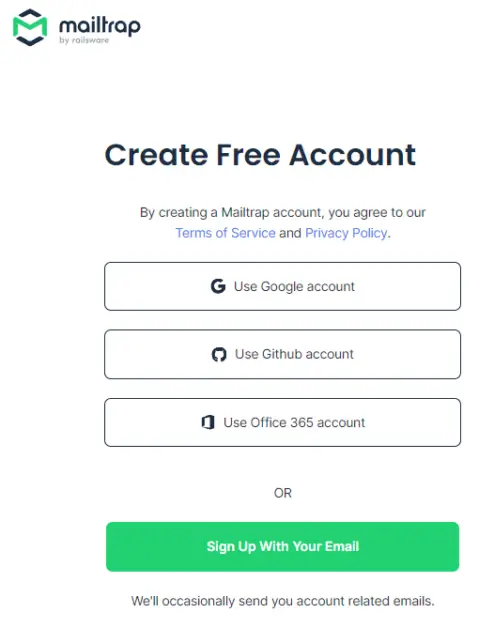
First go to the mailtrap signup page and a signup option you prefer:
Complete the signup and receive your account confirmation link in your mailbox:
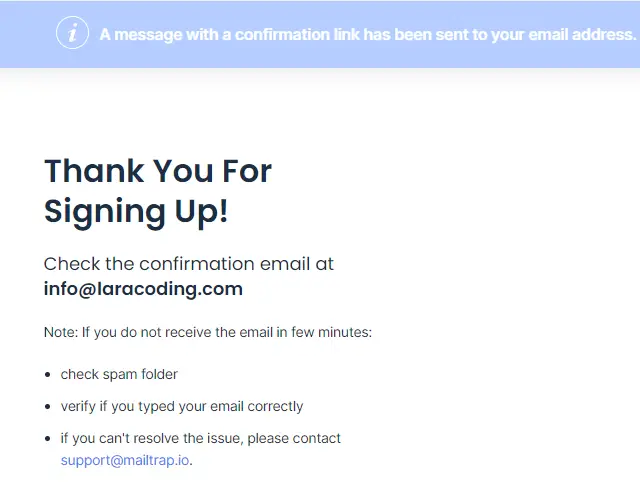
Now go to your mailbox and confirm your account:

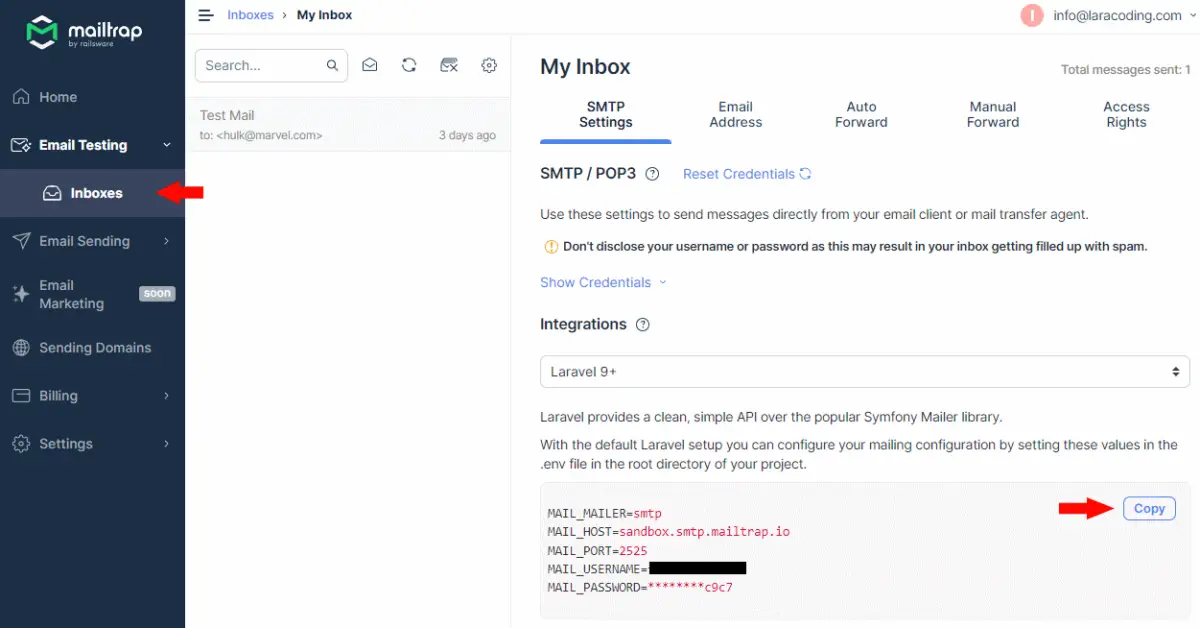
Now copy your credentials by logging into your mailtrap account and going to “Email Testing” > “Inboxes” > “SMTP Settings” where you can select “Laravel 9+” and copy the configuration. It should look somewhat like this:
Step 3: Configure Laravel Environment
Open your Laravel project and edit your .env file. Find and replace the MAIL_MAILER, MAIL_HOST, MAIL_PORT, MAIL_USERNAME, and MAIL_PASSWORD variables with the credentials you copied from your Mailtrap account.
For MAIL_FROM_ADDRESS and MAIL_FROM_NAME you can use whatever you like your test application to have.
As a result the email part of your .env file should look something like this:
MAIL_MAILER=smtp
MAIL_HOST=sandbox.smtp.mailtrap.io
MAIL_PORT=2525
MAIL_USERNAME=your-copy-pasted-username
MAIL_PASSWORD=your-copy-pasted-password
MAIL_ENCRYPTION=tls
MAIL_FROM_ADDRESS="application@your-development-domain.test"
MAIL_FROM_NAME="${APP_NAME}"
Step 4: Check Laravel Email Configuration
Next, open your configuration and make sure it uses MAIL_FROM_ADDRESS and MAIL_FROM_NAME correctly. By default this should be the case and it should look somewhat like this:
<?php

return [

    // Other configuration values ...

    'from' => [
        'address' => env('MAIL_FROM_ADDRESS', 'hello@example.com'),
        'name' => env('MAIL_FROM_NAME', 'Example'),
    ],

    // Other configuration values ...
];
Step 5: Create a TestMail Mailable Class
To facilitate sending test emails in your Laravel application, let’s create a TestMail Mailable class using Artisan, Laravel’s command-line interface.
Open your terminal and run the following command to generate the Mailable class:
php artisan make:mail TestMailThis command will create a new file named TestMail.php in the app/Mail directory of your Laravel project. You can customize this class as you like.
Step 6: Edit Mailable Class
Now let’s edit the generated Mailable class at app/Mail/Testmail.php as show below.
This allows the Mailable to receive a parameter $name and configures it so that this name will be passed to its blade view called “test-email” so that we can use the name of the user in the email body:
<?php

namespace App\Mail;

use Illuminate\Bus\Queueable;
use Illuminate\Contracts\Queue\ShouldQueue;
use Illuminate\Mail\Mailable;
use Illuminate\Mail\Mailables\Content;
use Illuminate\Mail\Mailables\Envelope;
use Illuminate\Queue\SerializesModels;

class TestMail extends Mailable
{
    use Queueable, SerializesModels;

    /**
     * Create a new message instance.
     */
    public function __construct(public $name)
    {
    }

    /**
     * Get the message envelope.
     */
    public function envelope(): Envelope
    {
        return new Envelope(
            subject: 'Test Mail',
        );
    }

    /**
     * Get the message content definition.
     */
    public function content(): Content
    {
        return new Content(
            view: 'test-email',
            with: ['name' => $this->name],
        );
    }

    /**
     * Get the attachments for the message.
     *
     * @return array<int, \Illuminate\Mail\Mailables\Attachment>
     */
    public function attachments(): array
    {
        return [];
    }
}
Step 7: Create Email Blade Code
Create a file in resources/views and name it to match the name of the view parameter you’ve set in your Mailable class in step 6. When following the naming of this tutorial it should be named test-email.blade.php and contain the following example blade code:
<!DOCTYPE html>
<html>
<head>
    <title>Test Email message</title>
</head>
<body>
<h1>Hello {{ $name }}!</h1>
<p>
    This is a test email sent from Laravel.
</p>
<p>
    This test shows that email will end up in our mailtrap account, regardless of the recipient that was set.
</p>
</body>
</html>
Step 8: Test Sending an Email
Now, let’s test email sending in your Laravel application. You can send a test email using Laravel’s built-in Mail facade. You can sent to any recipient you like and you don’t even need to own that particular inbox, for example you could do:
<?php

use App\Mail\TestMail;
use Illuminate\Support\Facades\Route;

Route::get('/sendTest', function () {
    Mail::to('hulk@marvel.com')->send(new TestMail('Bruce Banner'));
    dump('Email was sent!');
});
Step 9: Test the Application
To start the application open your terminal and run:
php artisan serveNow send out one email by opening your browser and navigate to http://127.0.0.1:8000/sendTest
Step 10: View Emails in Mailtrap
After sending the test email, log into your Mailtrap and open the dashboard. You should see the test email in your Mailtrap inbox:
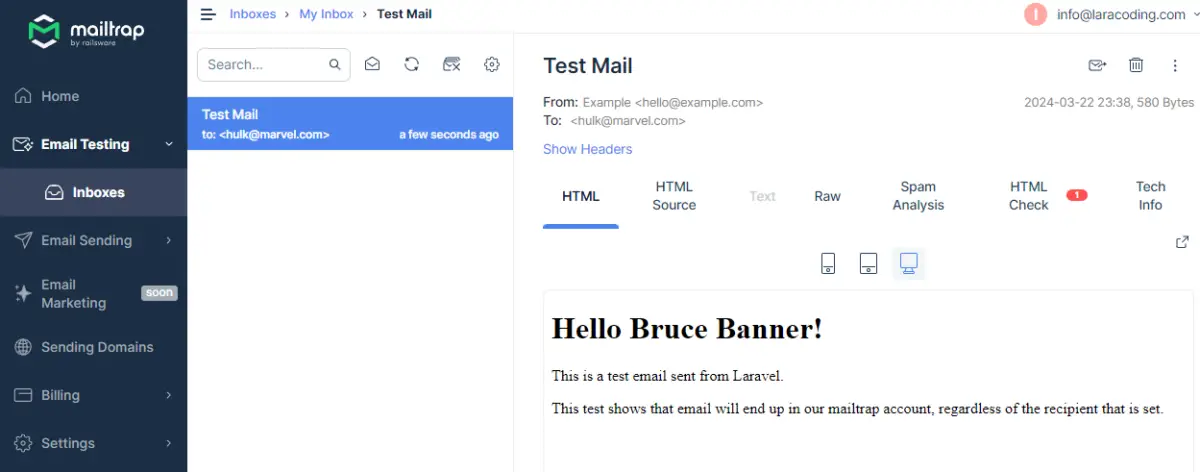
You can view the email content and inspect various email parameters to ensure everything is working as expected.
Using the device icons you can simulate viewing emails on smaller devices like phones to see how the layout holds up.
You can also check the spam score estimate and the compatibility of your HTML by using the mailtrap features in the tabbed menu shown above the email.
Conclusion
By configuring Mailtrap in your Laravel application, you can easily test sending emails in a development environment without the risk of sending real emails to users.
This ensures that your email sending logic works correctly and allows for thorough testing of email layout and content. Additionally you can use mailtrap to check for the mobile friendliness and spam score of your email.
Enjoy using Mailtrap while developing your own applications.
Happy coding!
References