This entry is part 4 of 4 in the series Google Integration
- How to Send Email With Laravel Using Gmail
- How to Add Google reCAPTCHA v3 to Your Laravel Form
- How to Add Google Analytics 4 (GA4) Tracking Code to Laravel
- How to Use Google Authenticator 2FA in Laravel
Two-Factor Authentication (2FA) enhances security by requiring users to provide not only their email and password but also a code generated by an authenticator app, like Google Authenticator, when logging into your application.
In this tutorial, we’ll integrate 2FA into a Laravel application using Jetstream, a authentication scaffolding provided by the Laravel team. By the end of this guide, you’ll have a working login flow that supports 2FA codes provided by the Google Authenticator app.
Let’s get started!
Step 1: Install Laravel
Start by setting up a new Laravel project by running:
composer create-project --prefer-dist laravel/laravel laravel-google-2faAfterwards, change into your project folder by running:
cd laravel-google-2faStep 2: Install Google Authenticator on Your Phone
If you haven’t done so already open the Google Play store, or Apple App Store and search for “Google Authenticator” and install the app.
Step 3: Install Jetstream
Next, let’s install the Jetstream to quickly set up authentication scaffolding with 2FA capabilities:
composer require laravel/jetstream
php artisan jetstream:install livewire
Step 4: Run Migrations
Run the migrations to create necessary database tables:
php artisan migrateStep 5: Enable Two-Factor Authentication
In your User model, make sure you include an import statement for the TwoFactorAuthenticatable trait at the top of the file. Then, within the body of the User class, apply the trait as shown below:
<?php

namespace App\Models;

// use Illuminate\Contracts\Auth\MustVerifyEmail;
use Illuminate\Database\Eloquent\Factories\HasFactory;
use Illuminate\Foundation\Auth\User as Authenticatable;
use Illuminate\Notifications\Notifiable;
use Laravel\Fortify\TwoFactorAuthenticatable;
use Laravel\Sanctum\HasApiTokens;

class User extends Authenticatable
{
    use HasApiTokens, HasFactory, Notifiable, TwoFactorAuthenticatable;

    /* The rest of the User Model code .. */
}
Step 6: Start the Application
Start the development server:
php artisan serveOpen the browser and navigate to: http://127.0.0.1:8000
Step 7: Create a User
In the top right click the link to register a new user:
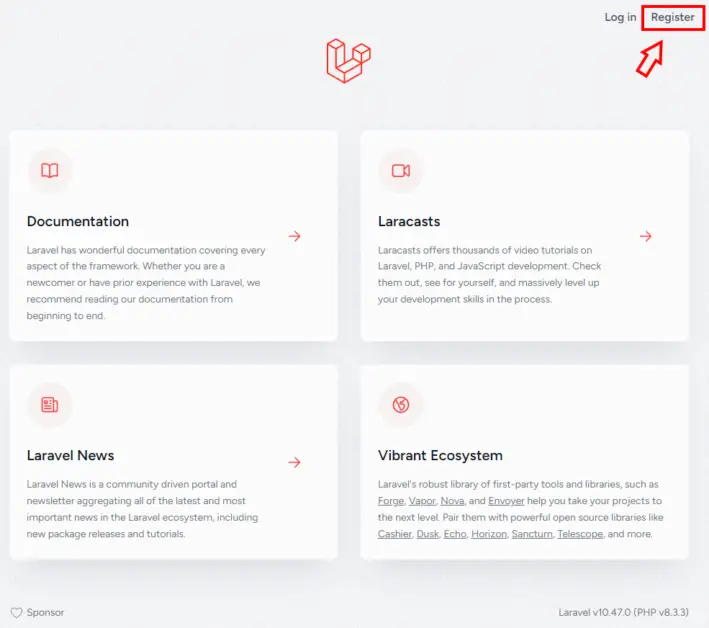
Fill in the form to create a new user:
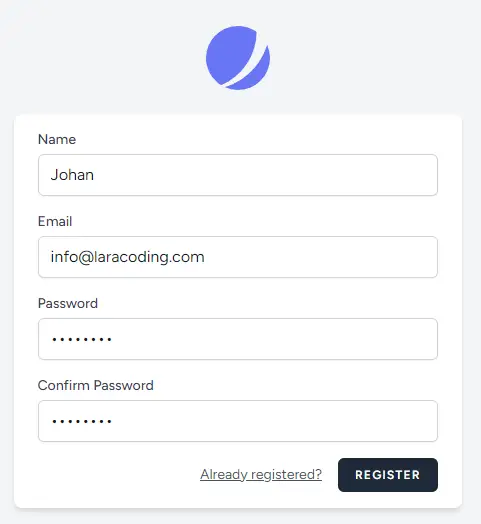
After creating the user, Laravel will automatically log in your new User.
Step 8: Enable Google 2FA for a User
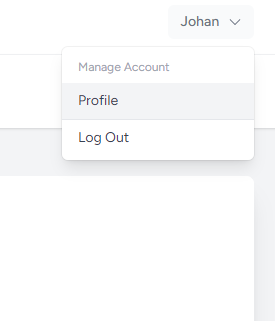
In the top right corner access the user pulldown and click “Profile”, like shown below:
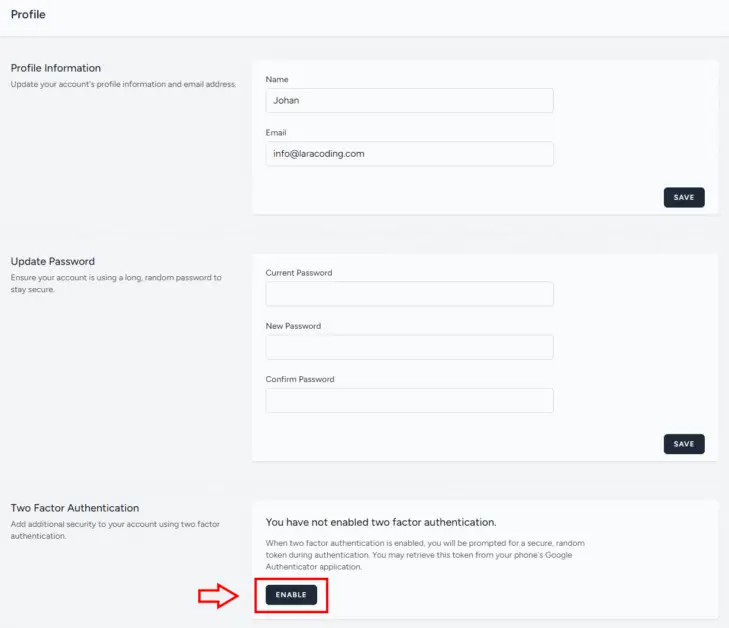
Now, on the profile page, scroll to where it says “Two Factor Authentication” and click “Enable”, like shown below:
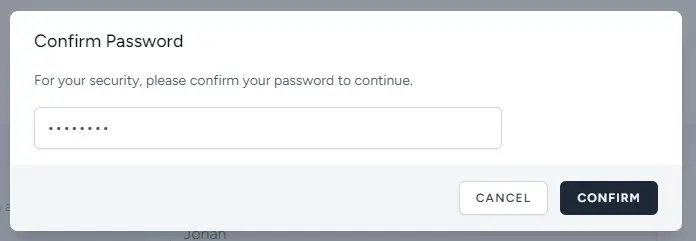
The Laravel application will ask for your password, use the password you picked when creating the user in step 6 and click “Confirm”:
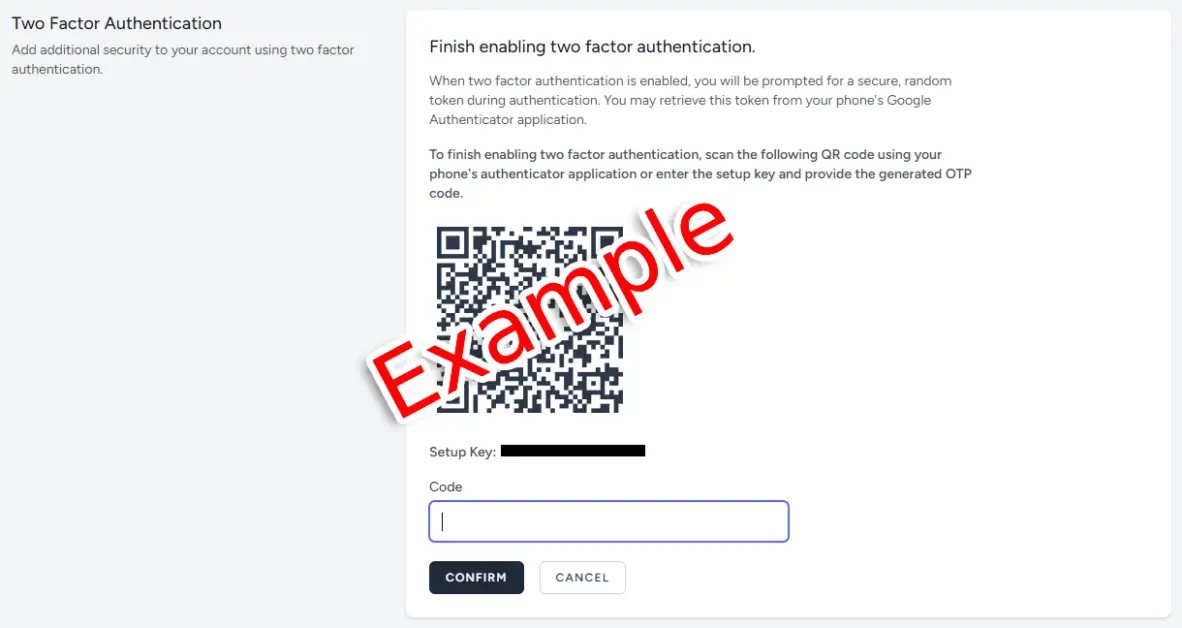
Now use your phone to scan the QR code using the Google Authenticator app. After scanning you’ll receive a code which you type in the field shown below and press “Confirm”.
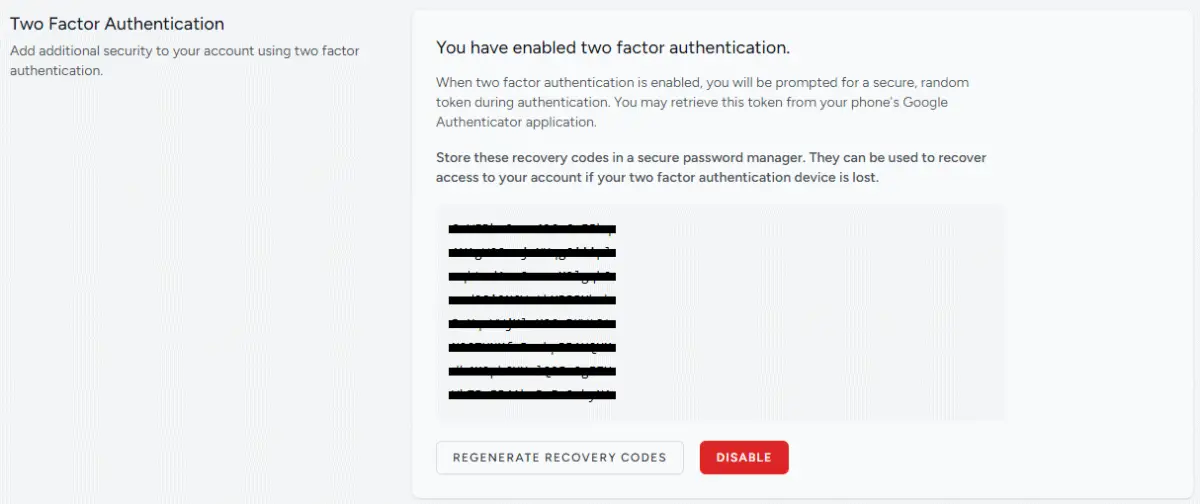
After enabling the Two Factor Authentication the Laravel application will present you recovery codes. If this is an important production account you should store them safely:
Step 9: Log in With Google Two Factor Authentication
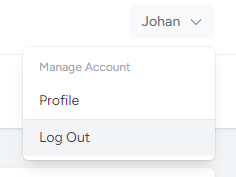
First, log out of the application using the “Logout” link in the user pulldown in the top right corner:
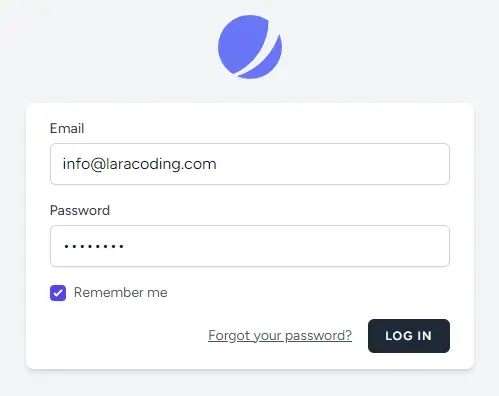
Afterwards you may log in again, using your email+password as created in step 6:
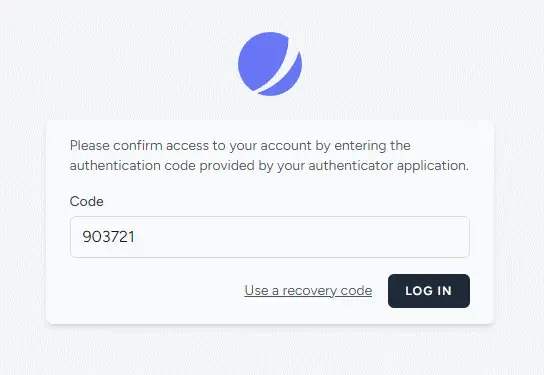
The application will now present you the 2FA form as show below. Read the current 2FA code from the Google Authenticator app on your phone and enter the code:
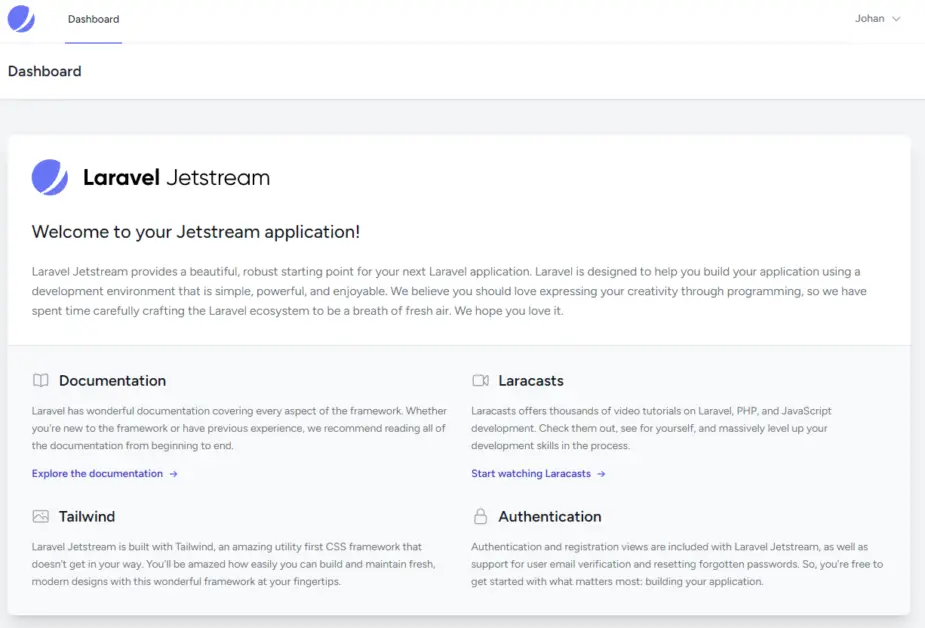
If the code is correct you will be logged in and redirected to the application’s dashboard like shown below:
That’s it! You’ve now successfully logged into your Laravel app using the Google Authenticator!
Conclusion
Congratulations! You’ve successfully implemented Google Authenticator 2FA into your Laravel application using Jetstream.
By requiring users to authenticate using both their password and Google Authenticator code, you’ve significantly enhanced the security of your application.
I hope this tutorial proves useful in your future projects. Happy coding!
References

Could someone help me troubleshoot an error I’m encountering when trying to activate two-factor authentication on Jestream? I keep receiving a code error, and I’m not sure how to resolve it
Hard to tell without seeing the code. Is there any particular error message showing up in the browser, laravel.log or in your IDE?